To back up a Proxmox VM to a NAS by saving the *.raw image file, follow these steps:
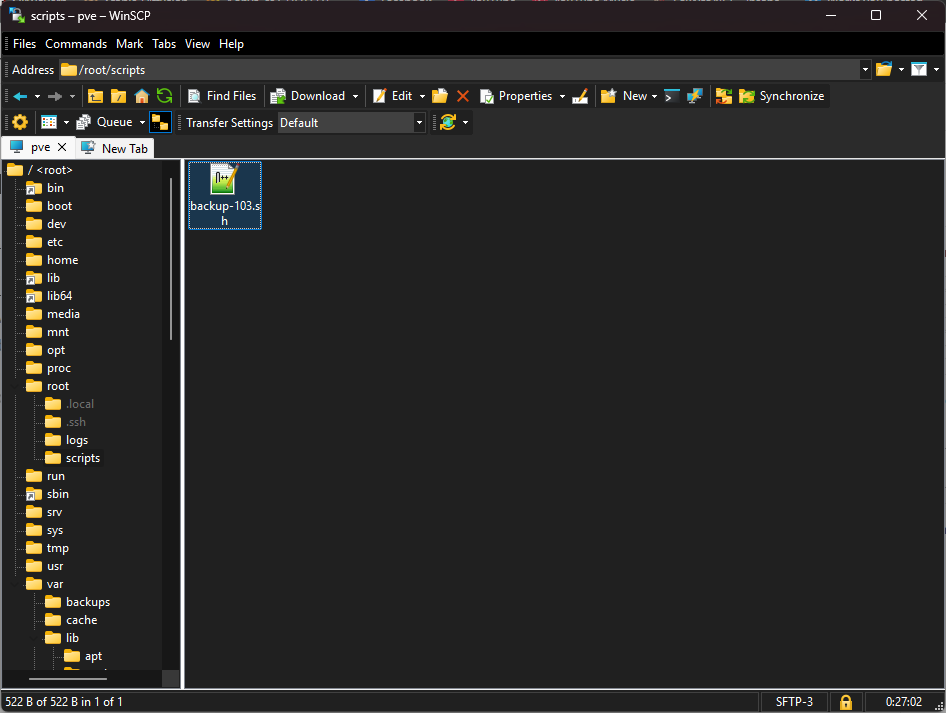
1. Logon to PVE using Putty or any SFTP tools, here I will use WinSCP for example and make a script file under /root/scripts/backup-103.sh (My VMID is 103 so I named that, you can use any name you want *.sh)

2. Code example:
mkdir -p /mnt/backups && mount -t cifs -o username=username,password=password,vers=3.0 //192.168.0.6/Data/Backups/Proxmox/ /mnt/backupsfind /mnt/backups/103/vm-103-disk-0/ -type f -name "*.raw" -mtime +3 -exec rm {} \;cp -p /var/lib/pve/local-btrfs/images/103/vm-103-disk-0/disk.raw /mnt/backups/103/vm-103-disk-0/disk_$(date +"%Y-%m-%d_%H-%M-%S").raw
umount -f /mnt/backups- mkdir -p /mnt/backups (Creates a mountpoint folder)
- mount -t cifs -o username=username,password=password,vers=3.0 //192.168.0.6/Data/Backups/Proxmox/ /mnt/backups (Logon to NAS using username and password via SMB3 protocol, enter NAS location, and then map the mountpoint under /mnt/backups)
- find /mnt/backups/103/vm-103-disk-0/ -type f -name “*.raw” -mtime +3 -exec rm {} \; (Optional to delete files > 3 days old)
- cp -p /var/lib/pve/local-btrfs/images/103/vm-103-disk-0/disk.raw /mnt/backups/103/vm-103-disk-0/disk_$(date +”%Y-%m-%d_%H-%M-%S”).raw (Copy the source disk file to the destination, adding time and date stamp)
- umount -f /mnt/backups (Unmount after transfer is completed)
3. Make the script executable by using:
chmod +x backup_103.sh4. Optional make a cronjob to automate backup process:
crontab -e5. Enter schedule details:
0 22 * * * /bin/bash /root/scripts/backup-103.sh >> /root/logs/backup-103.log 2>&1- 0 22 * * * (Everyday at 22:00, visit https://crontab.guru/ for additional time expressions)
- /bin/bash /root/scripts/backup-103.sh (Using bash to execute the script)
- >> /root/logs/backup-103.log 2>&1 (Save backup logs to the log folder, optional)
6. You can execute the script manually by using ./backup-103.sh to execute the script manually to validate if it’s running correctly.
