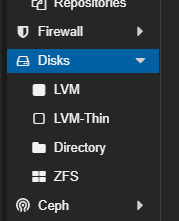
By default, Proxmox does not allow click through GUI to create BTRFS volume, so today I will show how to create a BTRFS volume on different volume. For example, my HP Proliant DL380p G8 server has 2 pools, which runs on P420i RAID controller, with 2*240GB SSD RAID1 volume and 4*300GB SAS HDD RAID1+0 volume.
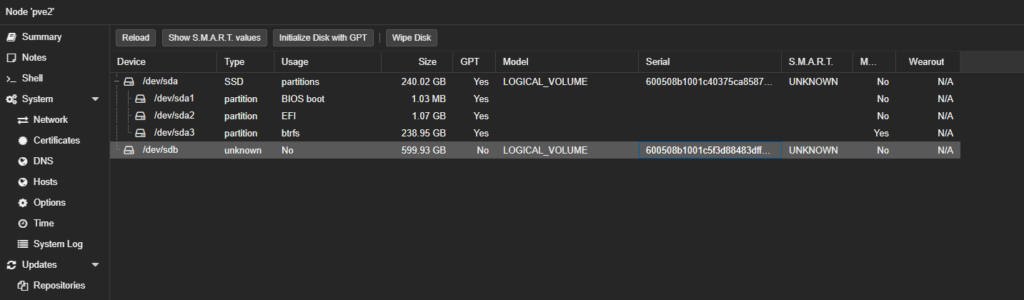
1. Firstly on which disk, the BTRFS volume needs to be created, for example, I wanted to create on /dev/sdb volume.
2. Using Putty or built-in shell, use lsblk to list the disk to be confirm.
lsblk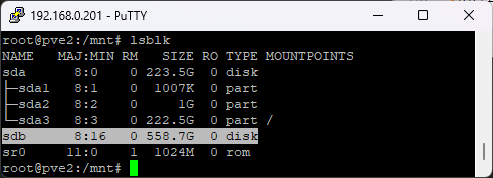
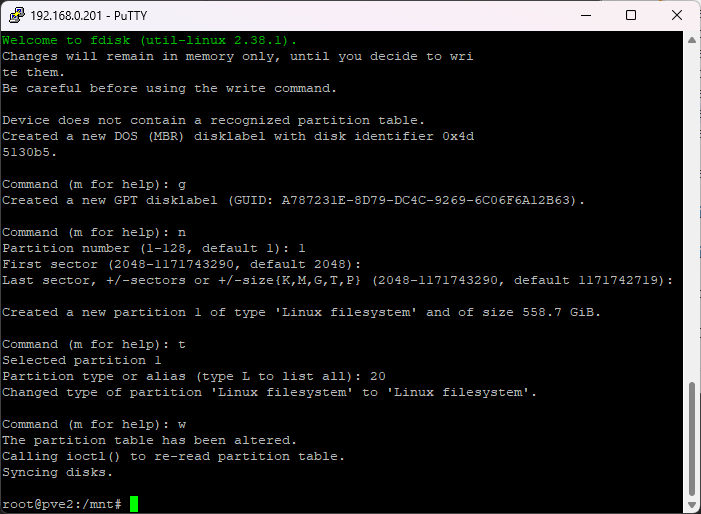
3. Run fdisk on selected disk. Replace sdb for which drive letter you are planning to create. (WARNING: Rest of the procedure will format/wipe the drive)
fdisk /dev/sdbThen inside fdisk:
Press g → (create new GPT table)
Press n → (new partition)
Partition number: 1
First sector: default (just press Enter)
Last sector: default (just press Enter)
Press t → (change type)
Type: 20 (Linux filesystem)
Press w → (write and exit)
4. Here I will use single mode, as it was backed by hardware RAID.
mkfs.btrfs -m single -d single /dev/sdb1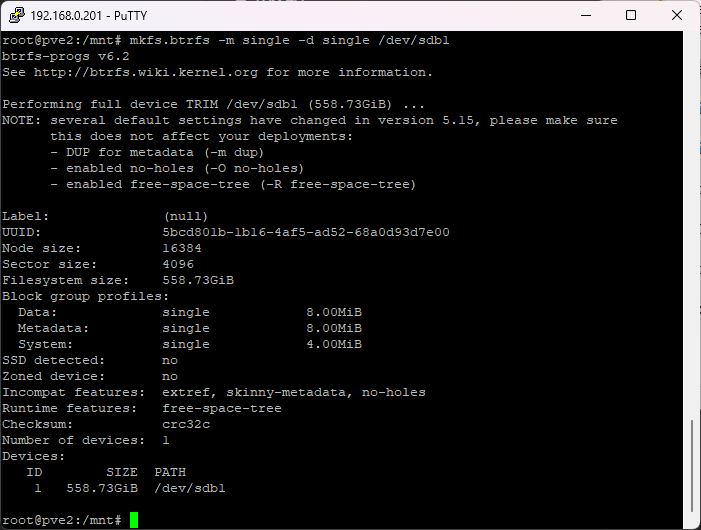
5. Create a mountpoint under /mnt. For example I will make a directory named “storage”.
mkdir -p /mnt/storage6. To set-up automount on boot, we need to check the UUID of the volume, use the following:
blkid /dev/sdb1And we need to copy the UUID of the volume.

7. Then we need to edit fstab to edit the mount table.
nano /etc/fstabAdd the following lines:
UUID=<your-uuid> /mnt/storage btrfs defaults 0 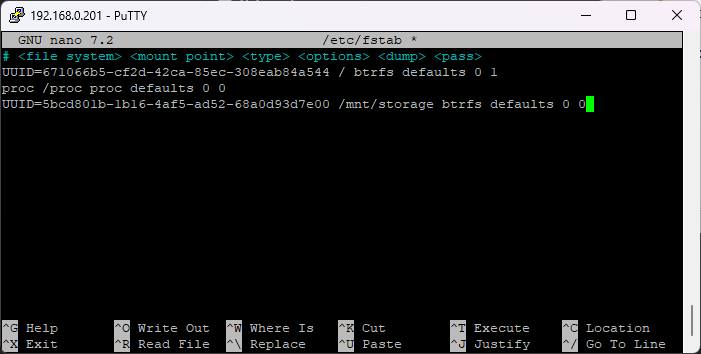
Save and exit.
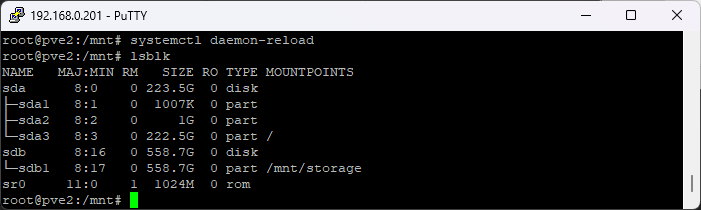
8. Then check if it’s mounted correctly. Run:
systemctl daemon-reload

mount -a
If no errors, then it means it’s correctly mounted, we can check with lsblk again.
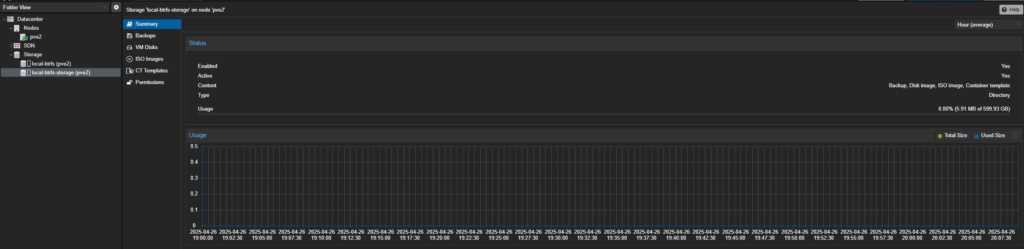
9. We can now see it in the WebUI, but still not finished yet. We still need to add the new volume to the Storage menu.

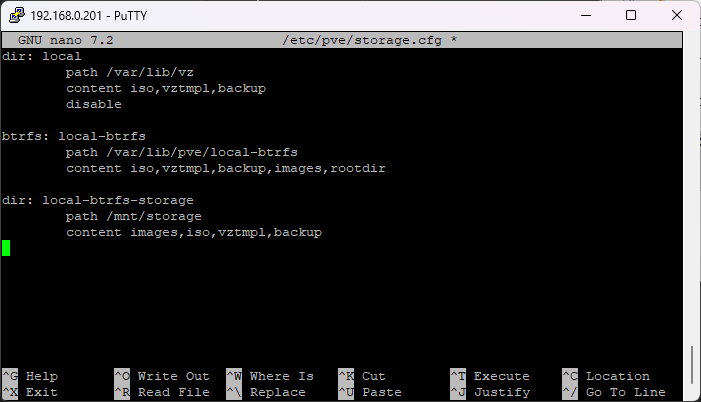
10. Open the storage config file.
nano /etc/pve/storage.cfgThen add the following lines:
dir: local-btrfs-storage
        path /mnt/storage
        content images,iso,vztmpl,backup
Save and exit.
11. Success, you can now use the new volume!
Source: ChatGPT, edited by me.