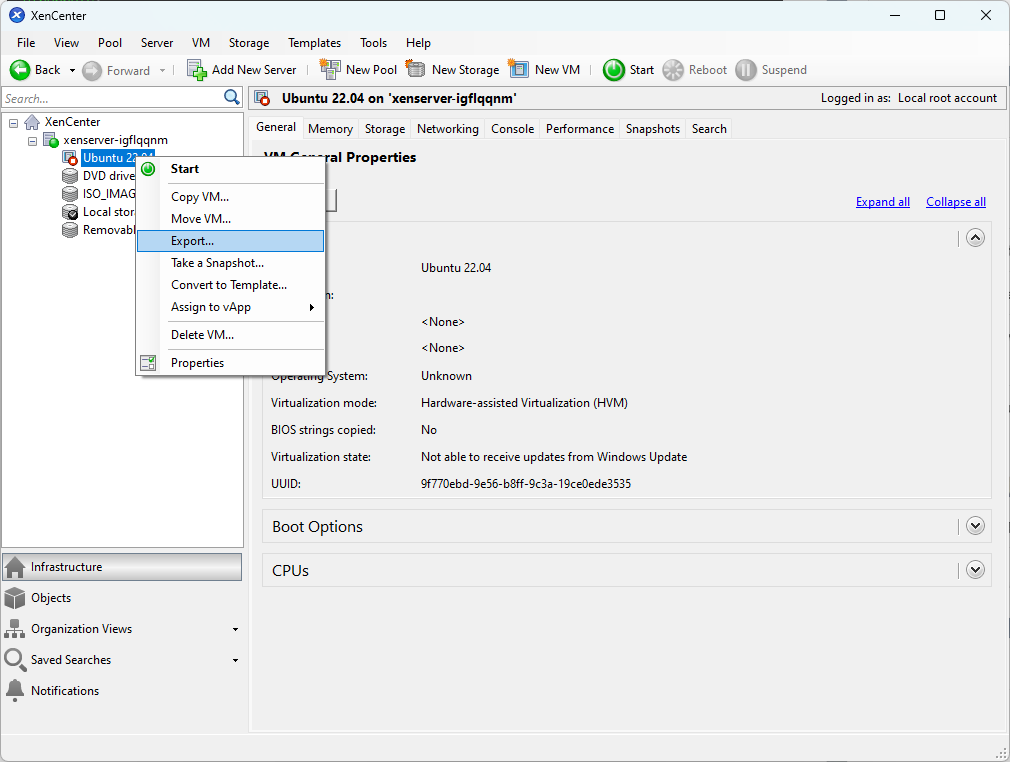
1. Open XenCenter and stop VM that needs to be migrated. Then Right Click selected VM > Export.
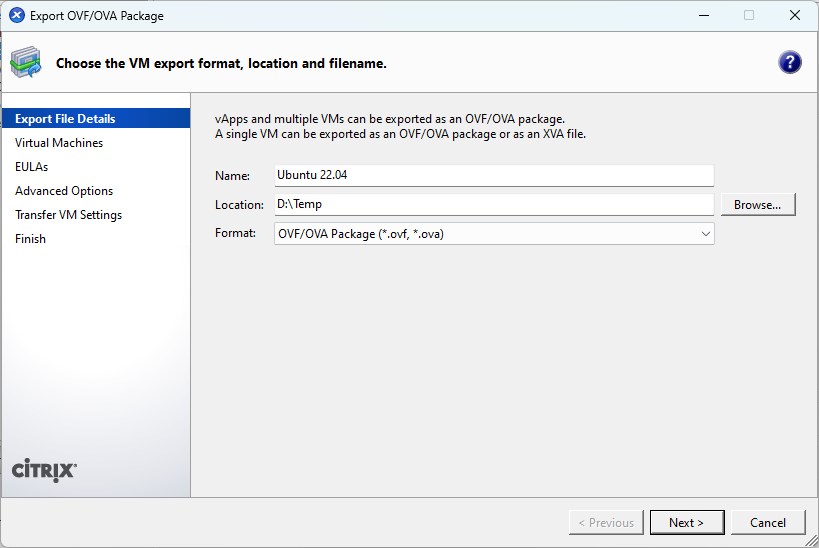
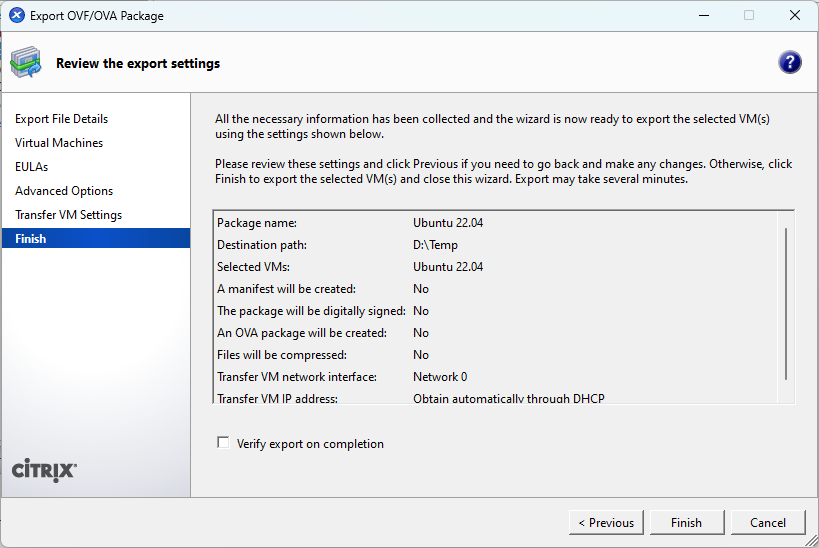
2. Type in details and export location, other settings you can leave default.
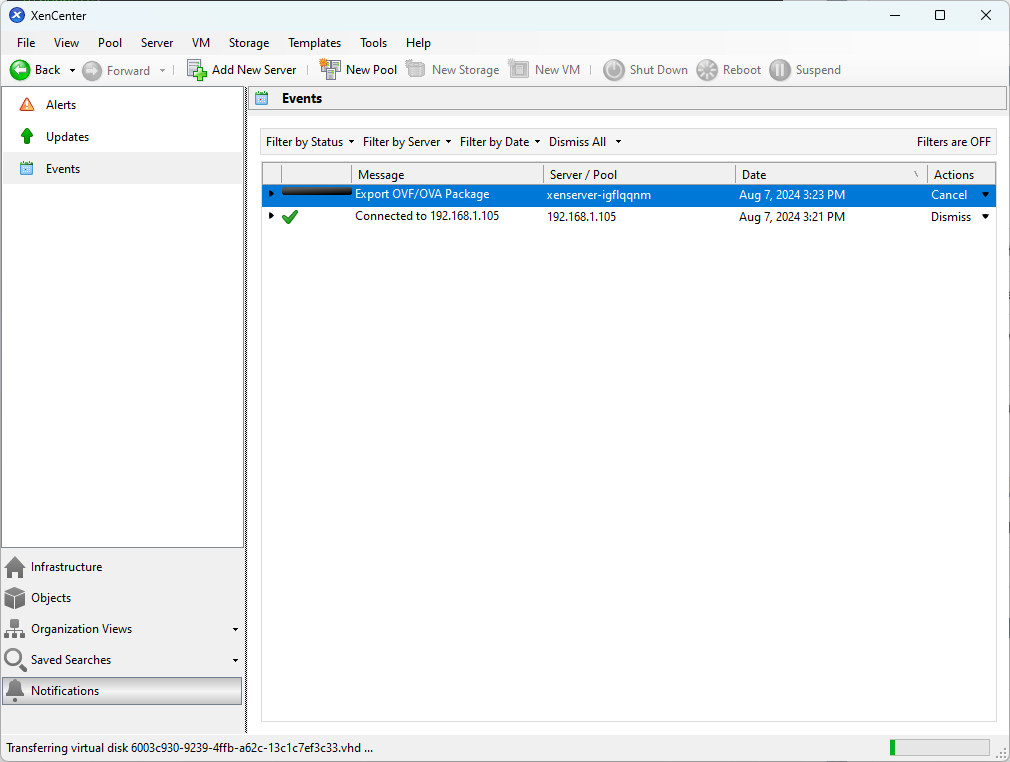
3. You can check the progress or other actions under Notifications > Events sidebar, do not close XenCenter during VM export progress.
4. After export progress is finished, we can check the exported contents. The file we need is the *.vhd file.

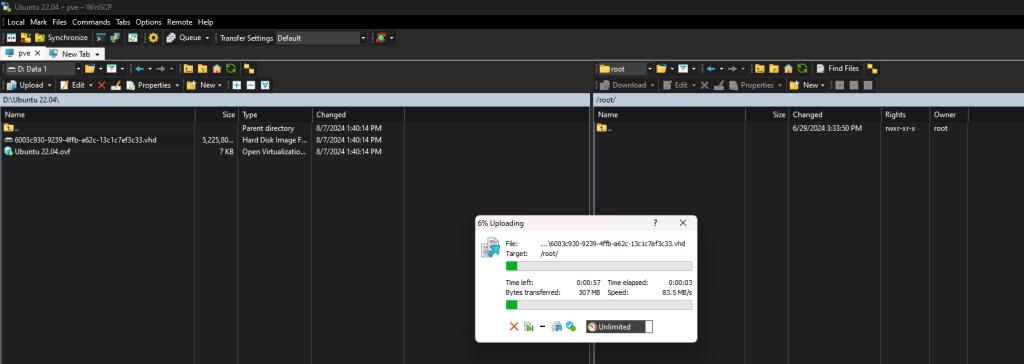
5. Using your preferred SFTP app, transfer the *.vhd to Proxmox host.
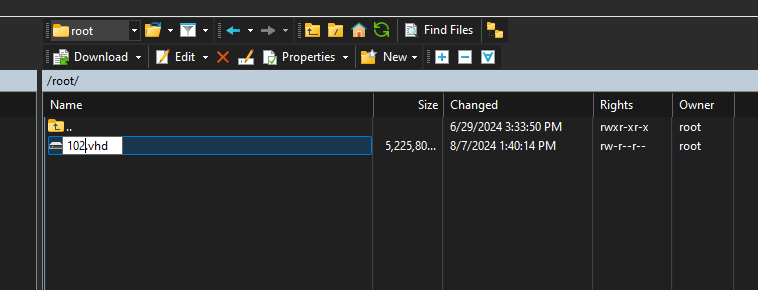
6. You can rename the disk image for easier management.
7. Proxmox have integrated conversion tool, now we need to convert *.vhd to *.qcow2 file format in order for Proxmox to recognize the disk image.
— It will take some time to convert. (depends on your VM disk size and it will not show any progress, please be patient)
qemu-img convert -f vpc -O qcow2 /[sourcepath/diskimage].vhd /[destpath/diskimage].qcow2
8. Check if the file contents are correct
ls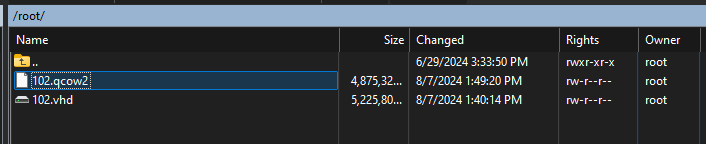
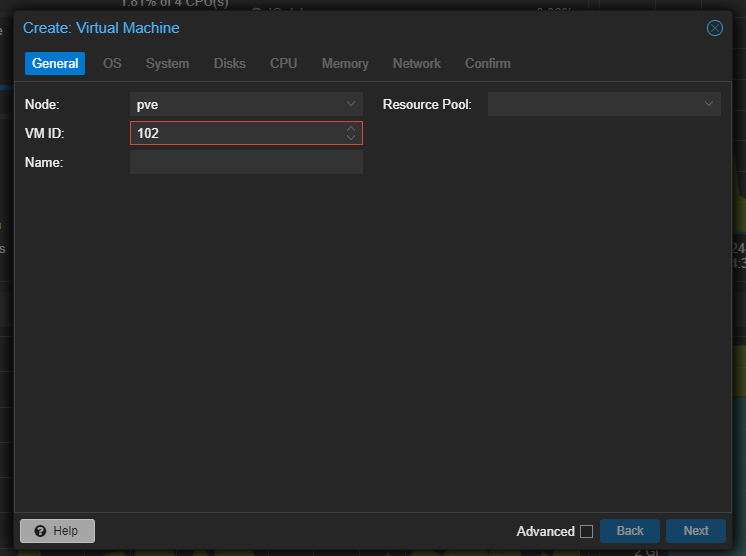
9. Create a new VM, without attaching a hard drive.
10. Start importing the disk converted just now into PVE.
qm importdisk [VMID] /[diskfilepath].qcow2 local-lvm

11. Now we need to attach the disk to our VM.
qm set [VMID] -scsi0 local-lvm:vm-[VMID]-disk-0
12. Refresh the VM’s hardware page to see if the new disk is attached or not.
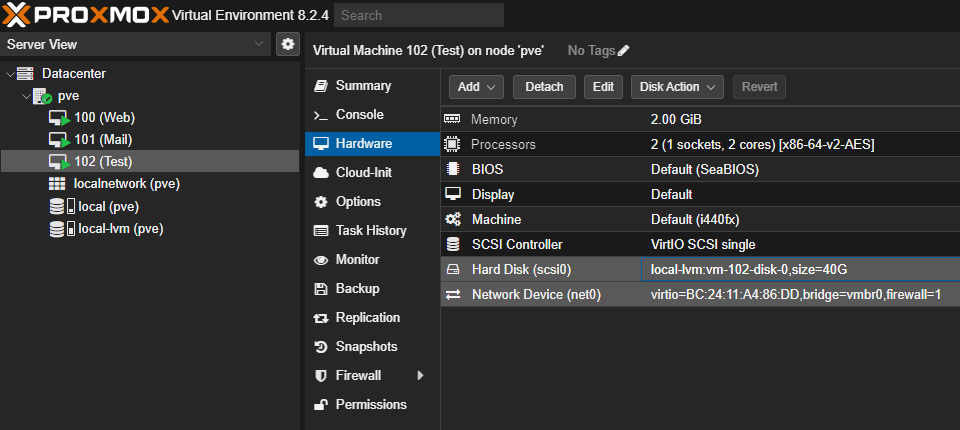
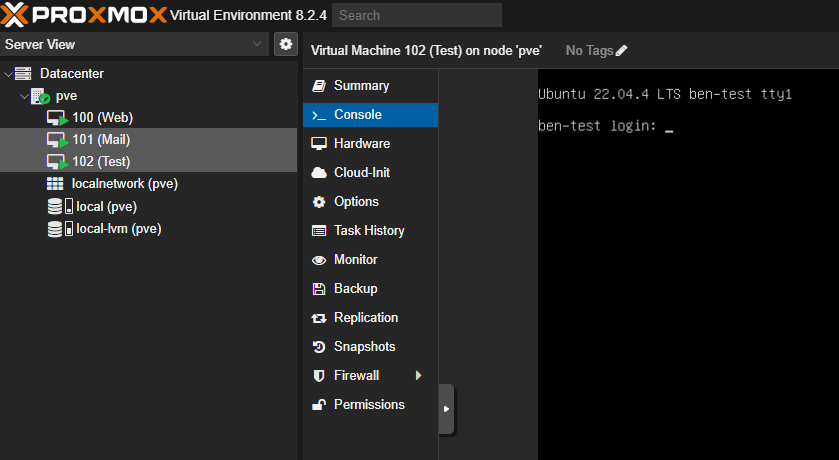
13. If everything is done correctly, VM should start normally.
14. Refer here if network is not connected after booting the VM.
Source: https://www.vinchin.com/vm-migration/xenserver-to-proxmox.html