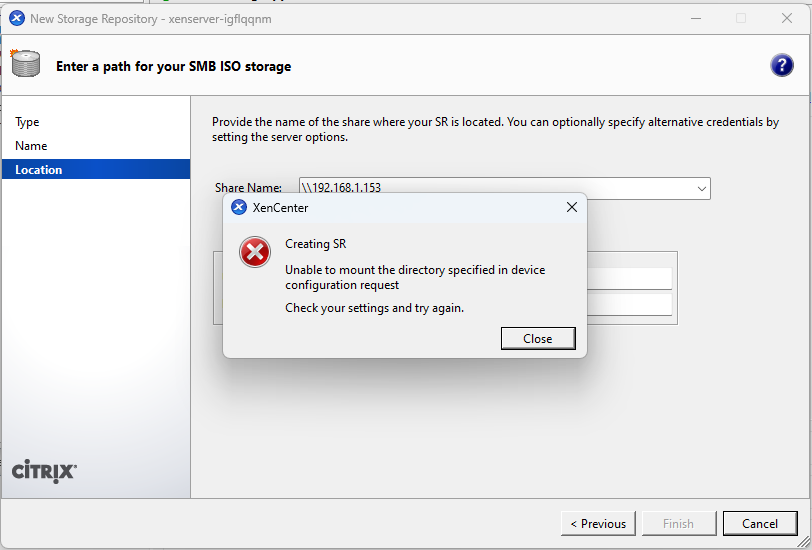
There are 2 methods to link OS install directory on XenServer, via the SMB Windows File Sharing (SMB), or Local (Upload ISO file to the Hypervisor)
1. If you are unable to add repository, try use the command line method.

2. Use SSH or console, enter the following:
Remove [ ] and domain if not needed.
vers=3.0 meaning using SMB3.0.
xe-mount-iso-sr //[ip-or-hostname]/Dump -o username=[smb-username],domain=test.com,vers=3.0,password=[smb-password]3. After that the repository will appear on the left sidepanel, but this is not recommended as it breaks the guest VM console.
My suggested method will be upload ISO files directly to the VM, and start OS installation from there.
1. Using SSH (Putty) connect to the XenServer host.
2. Create the ISO directory/folder, feel free the change the directory to your own, below is an example:
mkdir /var/opt/local-iso3. Link created directory to XenServer’s storage repository.
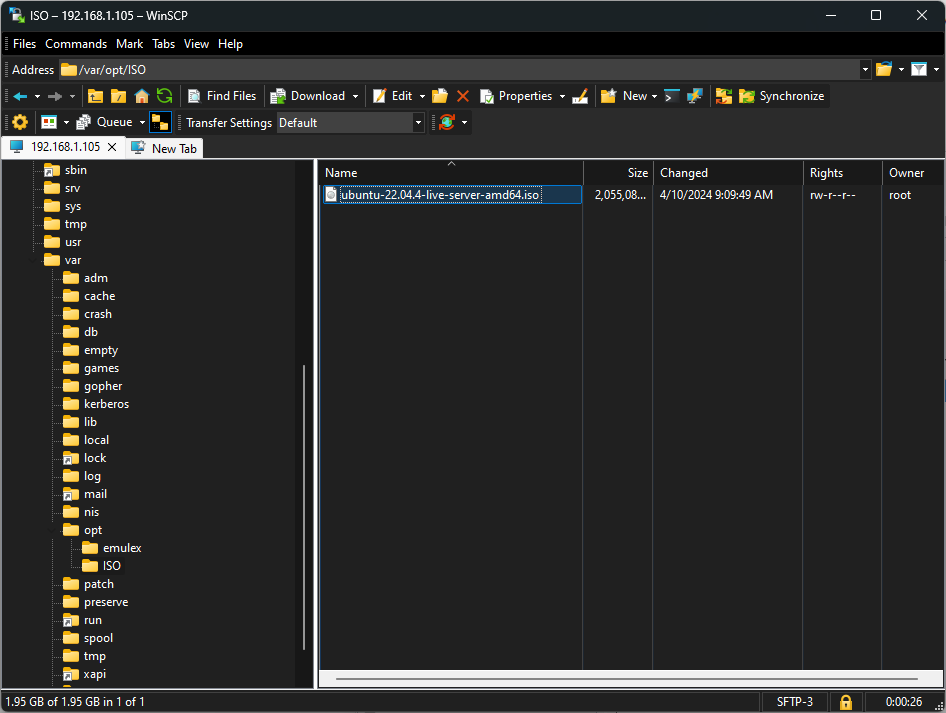
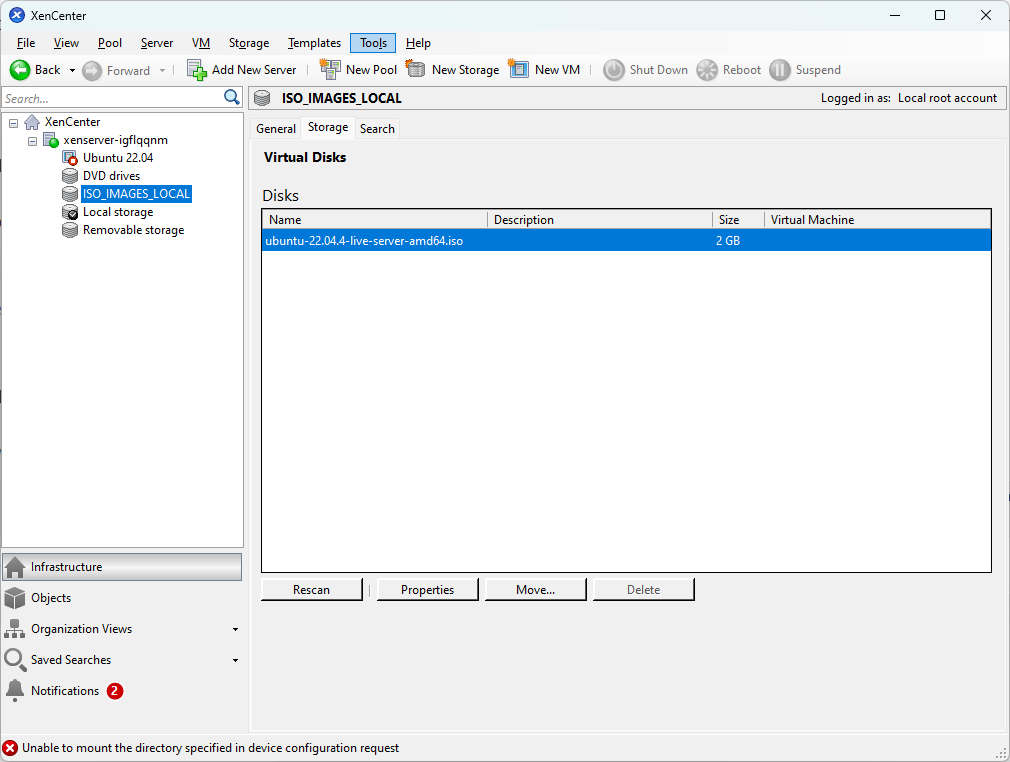
xe sr-create name-label=ISO_IMAGES_LOCAL type=iso device-config:location=/var/opt/local-iso device-config:legacy_mode=true content-type=iso4. Copy your desired OS ISO image to the XenServer using your preferred SFTP app. (eg: WinSCP)

5. You can list the newly created storage repository with xe sr-list, or refresh XenCenter page (quit and re-open XenCenter).
xe sr-list
Source 1: https://community.citrix.com/forums/topic/104712-creating-cifs-iso-library-sr-fails/#_=_
Source 2: https://support.dbagenesis.com/post/add-iso-image-storage-repository-on-xenserver
